As I have previously mentioned my New Years Resolution is to get my craft room organized. This includes finding a solution to keep my spools of thread and bobbins in check. Those little sucker are always getting away from me, it keeps the cat amused but is a pain when I can't find the thread I need. It was time for a spool holder.
After much shopping around, I couldn't find exactly what I wanted. There are many options but I was looking for something to keep both the thread and matching bobbin together, a lot appeared as if they would be easily tipped over, and frankly even though they were on sale they were still quite pricey. Especially since I when I can make it myself at a much lower price.

I started by running to the hardware store and grabbing a 1x3x6 and two 3/16 wooden dowel.


Gathered up my supplies; drop cloth, hack saw, miter box, screws, drill, ruler and safety goggles.


Use the ruler to find the center of your two halves. Next don the safety glass, use the hacksaw and miter box to cut the pieces in half again.


What you are left with is four 18 inch pieces of wood.
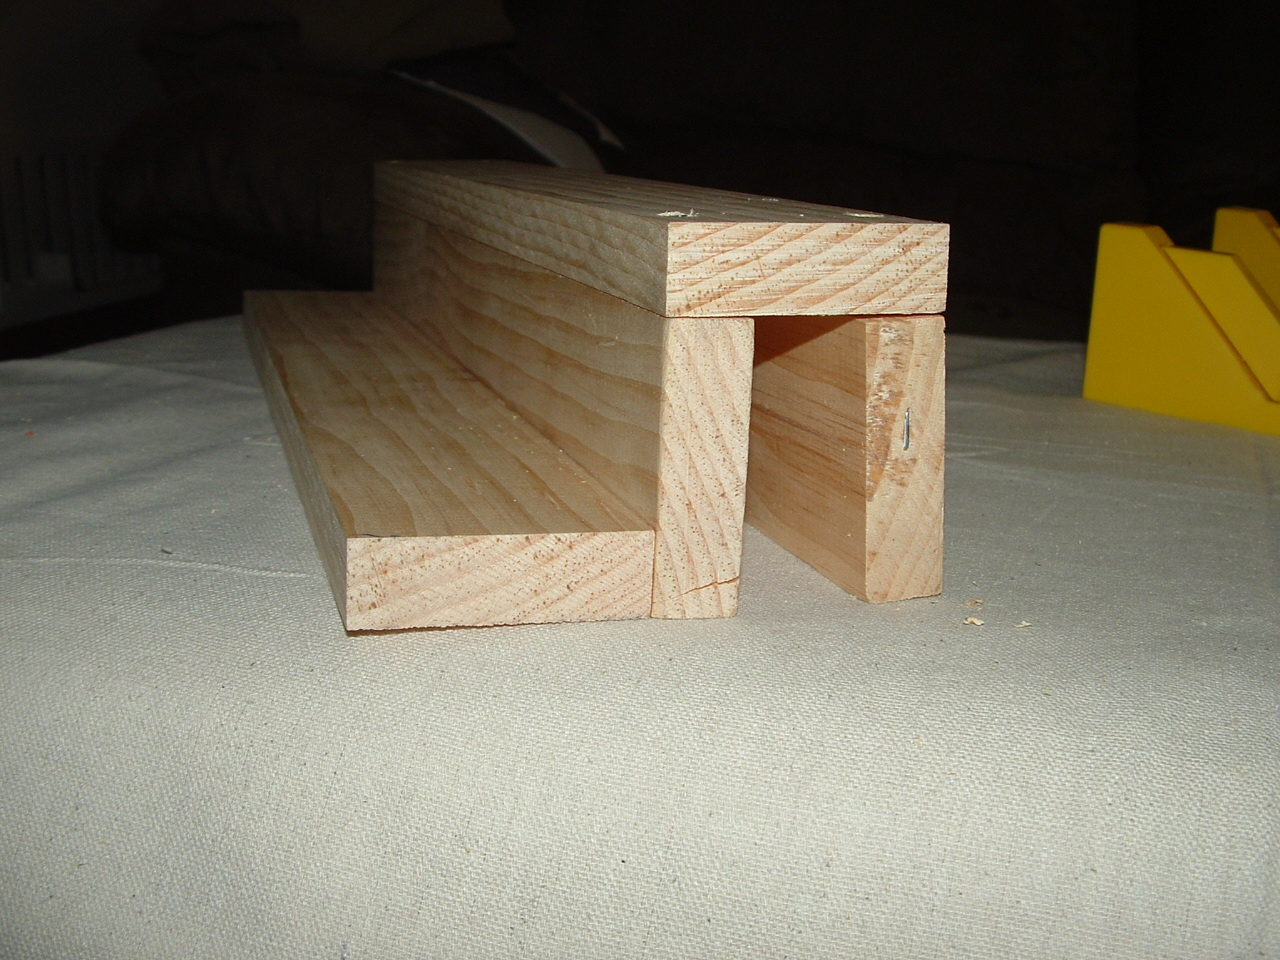
Now what you are going to do is butt the 1 inch edge of one piece of wood against the 3 inch edge of the other creating a 90 degree angle.

Go ahead and pre-drill the holes for your screws to prevent the wood from splitting. I then used a drill bit slightly larger than the head of my drill to counter sink the screw, I had big plans on fill it with wood putty for a nice finished look however darn wood putty is dry so that's a project for an other day.

Secure with a screw at each end.


You're going to add another piece of wood creating a zig zag or "step."

Pre-drill, counter sink, and secure with a screw at each end. Use the same technique to add the last piece of wood towards the back as a leg.

It's time to cut your dowel. You're going to want to customize this to your needs. I went and found my tallest spool of thread, placed it on the dowel, and stacked a bobbin on top. Place next to a ruler.

I knew that I wanted to sink the dowel into the "steps" a half of a inch, so I took that into account and cut the dowels into 3 1/2 pieces. I cut 20 pieces, 10 for the top row and 10 for the bottom row.

I placed a rubber band but you can also use tape to mark 1/2 inch on the drill bit I'm going to be using.

Now mark 1 inch in on both sides and levels. Then ever 4 1/2 cm between the first 4 marks. Drill using 5/32 drill bit, pre-marked at 1/2 depth. You'll have 20 evenly spaced holes.

Now simply use a hammer to pound in your precut dowels. I didn't glue them, the dowel seemed sturdy enough where I felt comfortable doing without but it's a personal call.

You're done, place your spools and bobbins on rack and there you have it.

Finish Project for a grand total of $6.65 plus tax.

We've only just began, this is only the sewing corner of my craft room!!!!

Momma's little helper re-hydrating, supervising is hard work!!!!

Hope you enjoy this project!!!!
I'm super impressed! I want one of these for when I get my own sewing room! I'm following you now :)
ReplyDeleteThank You!!! Hopefully it helps with the mess!!!
ReplyDelete